Downloading and Using Eclipse
***First, you will need to create a new folder on your desktop (or somewhere easily accessible) called CMPS12a_programs or something similar. Your programs will be saved in this folder.
Download and Install Eclipse
1. Visit http://www.eclipse.org/downloads/eclipse-packages/ , select your operating system next to "Eclipse Oxygen (4.7.1) Release for". This will be PC, Linux, or Mac. Click "64 bit" (yours might say 32 bit...that's OK) to start download.
2. Open Eclipse Installer. Select "Eclipse IDE for Java Developers". Click "Install".
3. Once installed, click Launch. You will be prompted to select a workspace. Click "browse" and select the folder you created above. You are now ready to create projects. (You can close the "welcome" tab)
Creating a project and creating a java file
1. Click File -> New -> Java Project. Call your java project something descriptive of what you're doing (ex: Program 1). Make sure to select "Use project folder as root for sources and class files". screenshot
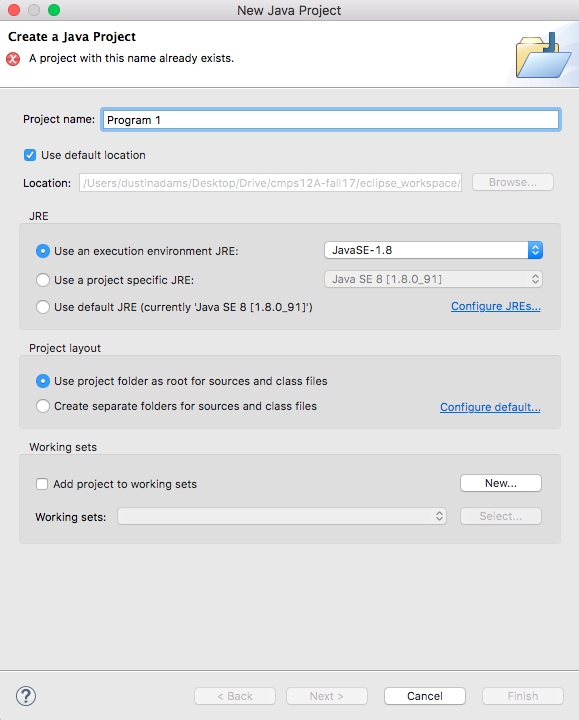
2. With your project highlighted, click File -> New -> Class. The Name should be the name of your java file. For example, for Program 1, the name of your class should be PayCheck, which will create a file called PayCheck.java. Make sure to click the checkbox "public static void main(String[] args)". screenshot.
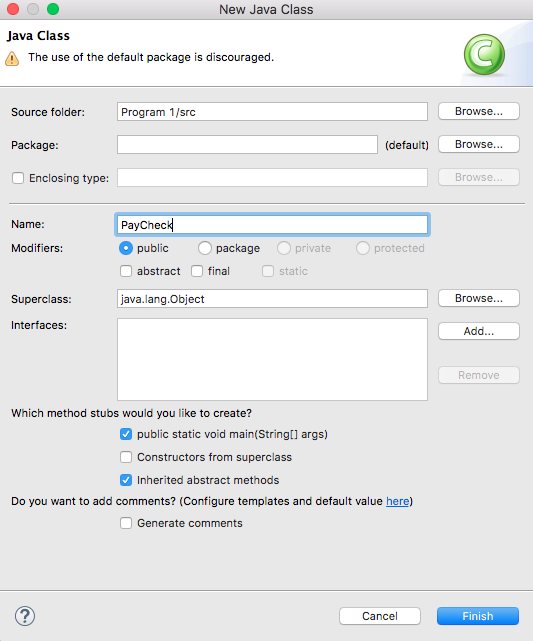
You are ready to start writing code.